Bridge Prototype Testing and Evaluation
Year 8 Technology Engineering Skills Unit Lesson 5 of 8

Learning Objectives
Test prototype bridges for stability and weight capacity Collect and record data collaboratively Evaluate designs and identify improvements Communicate findings using technical language

Safety First: Testing Protocol
Wear safety goggles during all tests Add weights gradually and slowly Stand clear when bridge reaches failure point Record observations immediately Work in assigned groups of 4-5 students

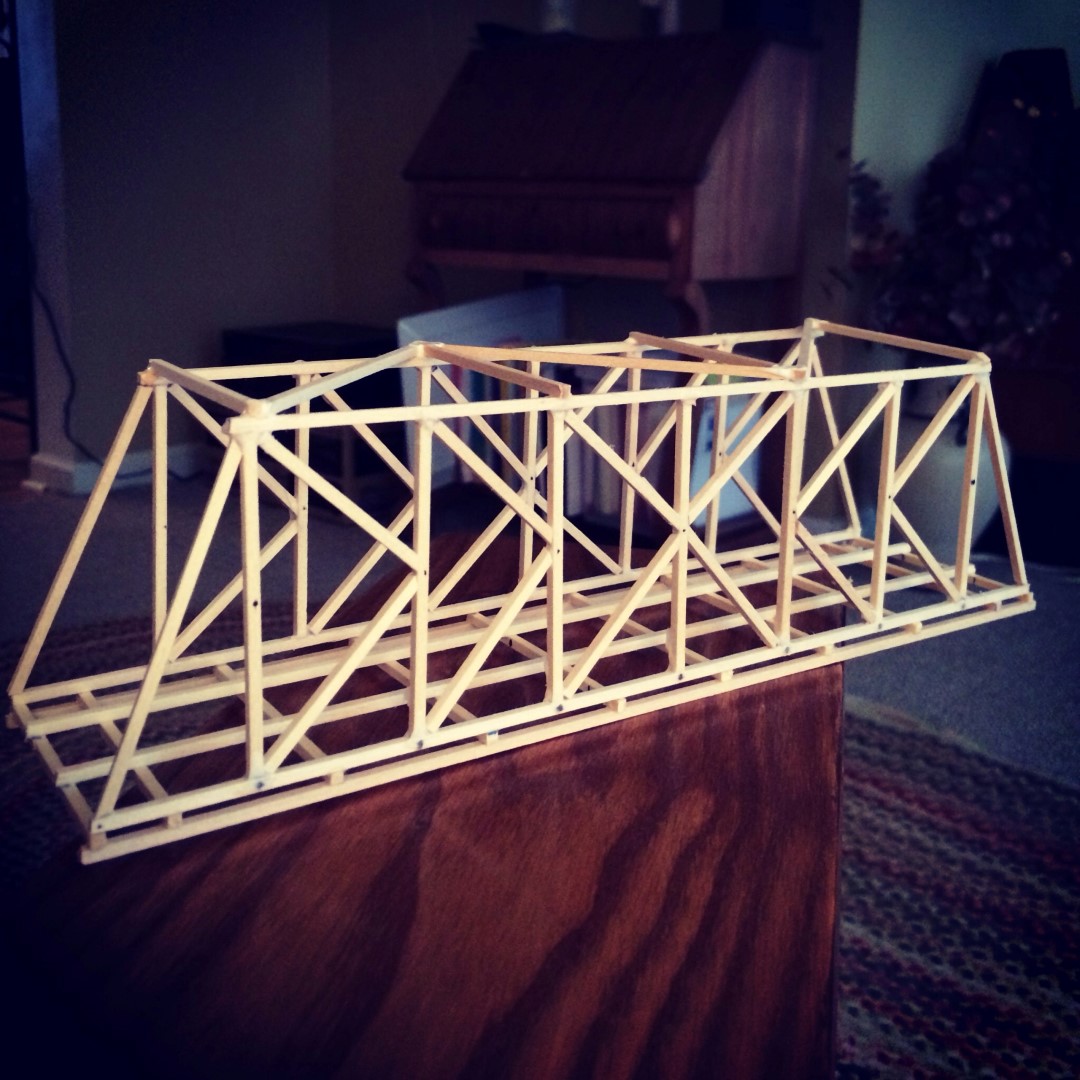
Testing Phase 1: Stability Assessment
Apply gentle side forces to test lateral stability Observe and record any movement or swaying Test from different angles and directions Note which design features provide stability Record qualitative observations
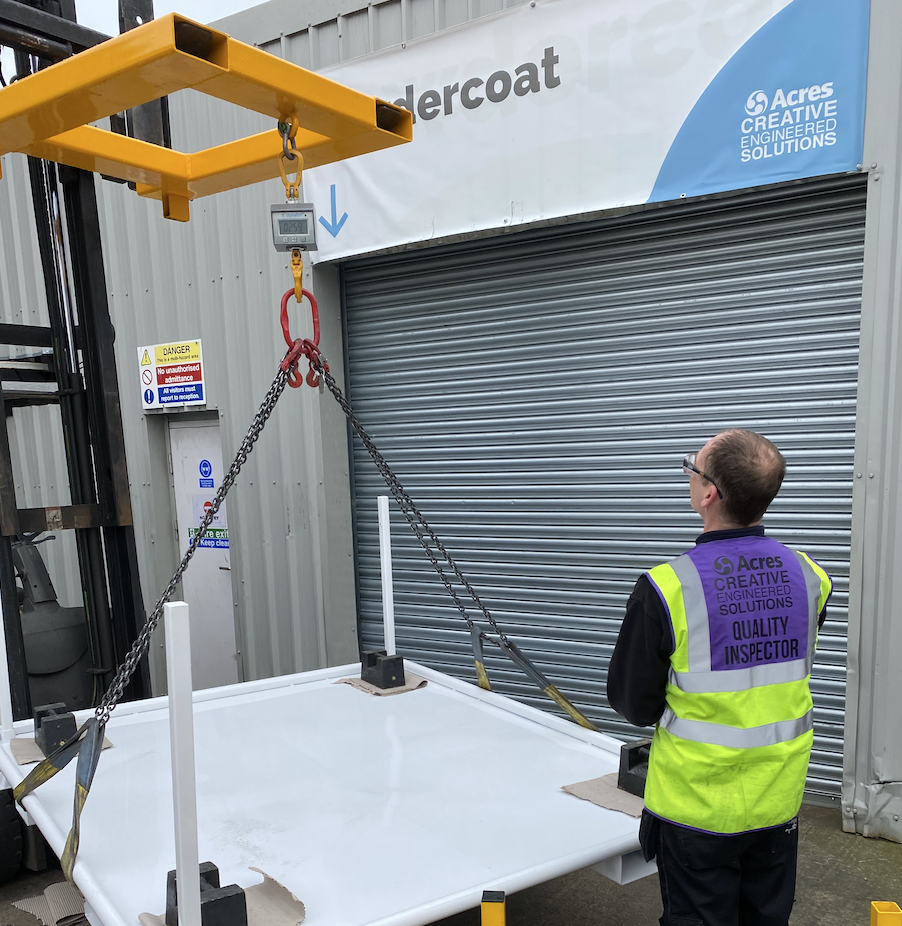
Testing Phase 2: Load Capacity
Start with small weights and gradually increase Record the weight at which bridge begins to bend Note the maximum weight before structural failure Observe where failure occurs first Document the type of failure (bending, breaking, collapse)

Data Collection and Analysis
{"left":"Maximum weight supported before failure\nType of failure observed\nLocation where failure occurred\nStability rating (1-5 scale)","right":"Design features that worked well\nDesign features that caused problems\nComparison with design criteria\nIdeas for improvement"}

Critical Evaluation Question
Based on your test results, what would you change about your bridge design to improve its performance? Consider both materials and structural features in your answer.
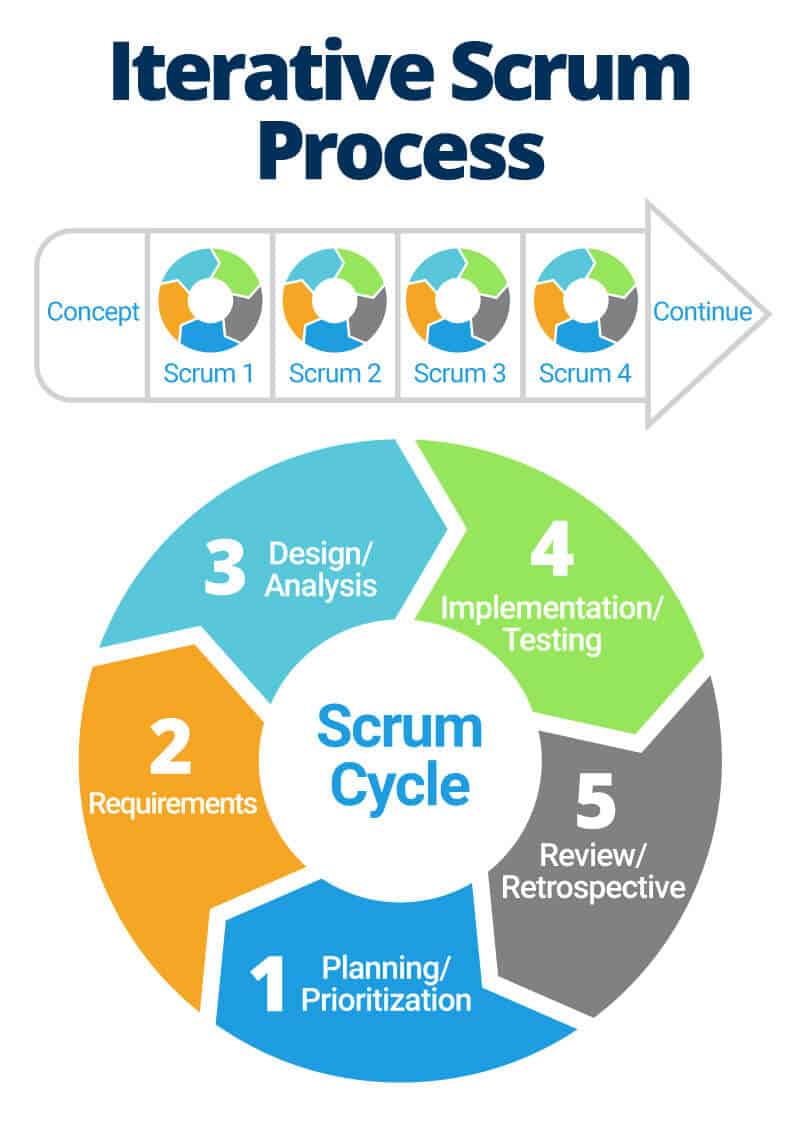
Key Learning Summary
Testing reveals design strengths and weaknesses Data collection helps make informed improvements Engineering is an iterative process of design-test-improve Structural failures teach us about forces and materials Next lesson: Redesign and refinement based on today's findings